Showing posts with label rooting fig cuttings. Show all posts

Monday, June 25, 2018

Don't give up on those dead cuttings

I actually lose more cuttings during the up pot stage more than I do during the rooting stage. Which makes the method of rooting in tree pots a bit more advantages, since there's no transfer. But really that's only 1 advantage compared to the fig pop method which is hands down the best way I've rooted figs.


Well I lost more than usual because of my month long vacation in Asia. Not being around to tend to new cuttings while they need you most can lead to lots of dead cuttings.


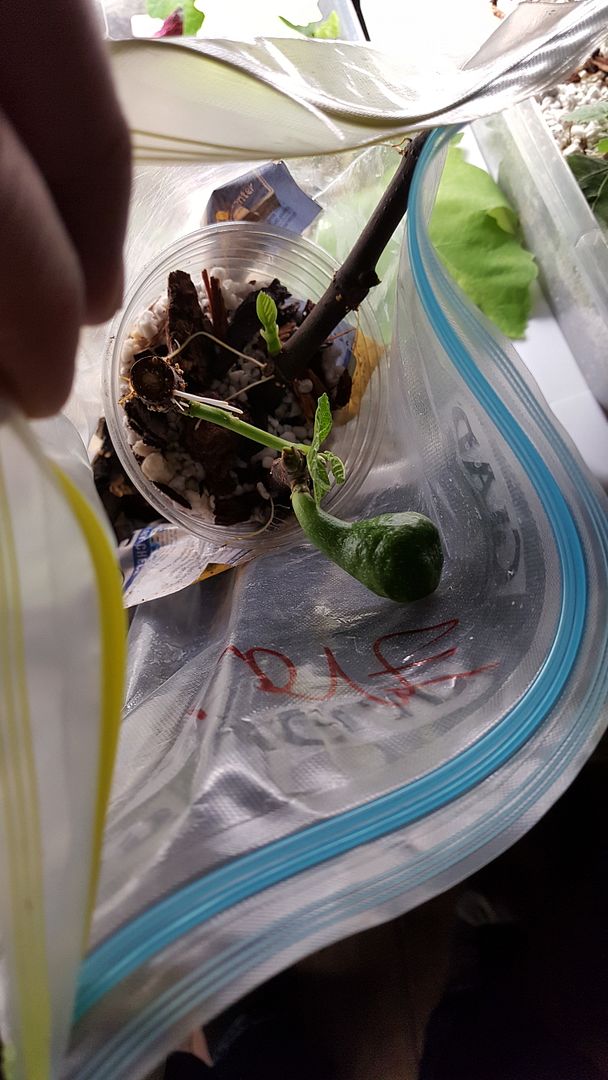
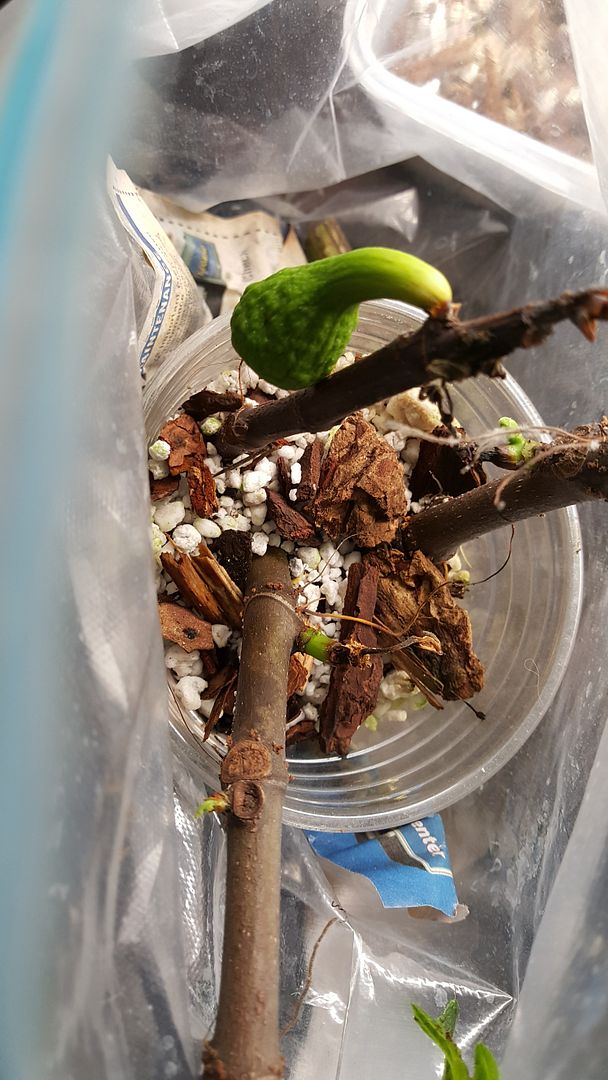
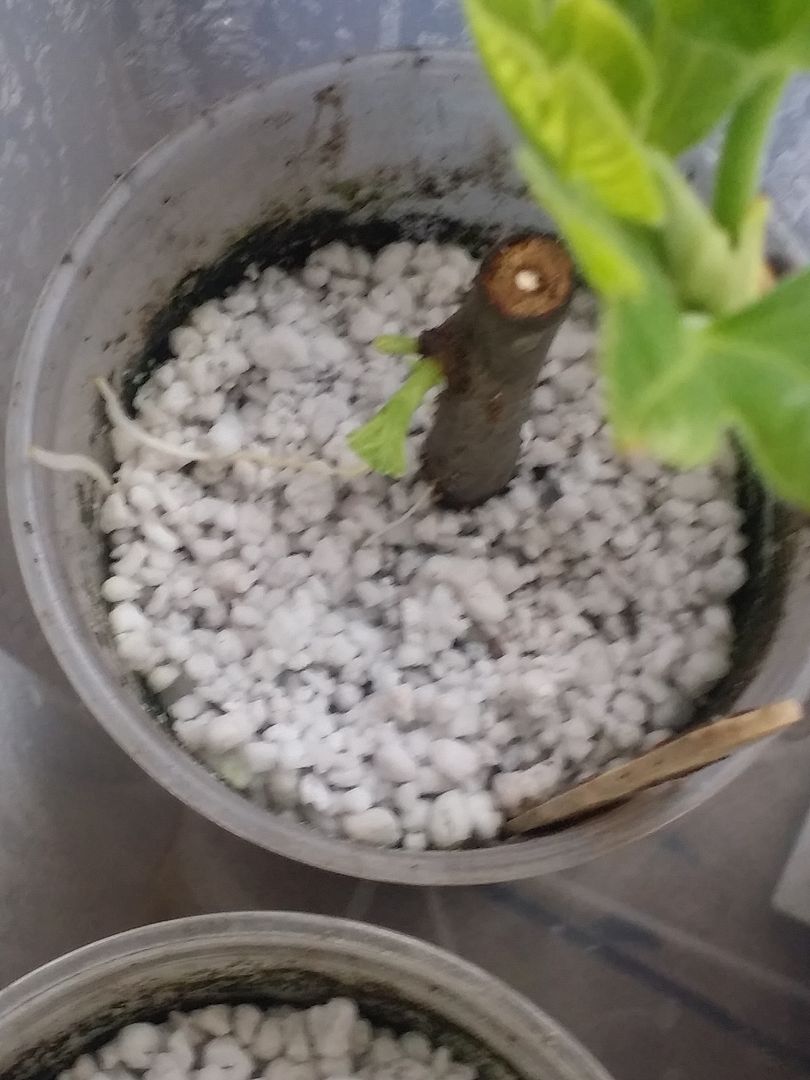
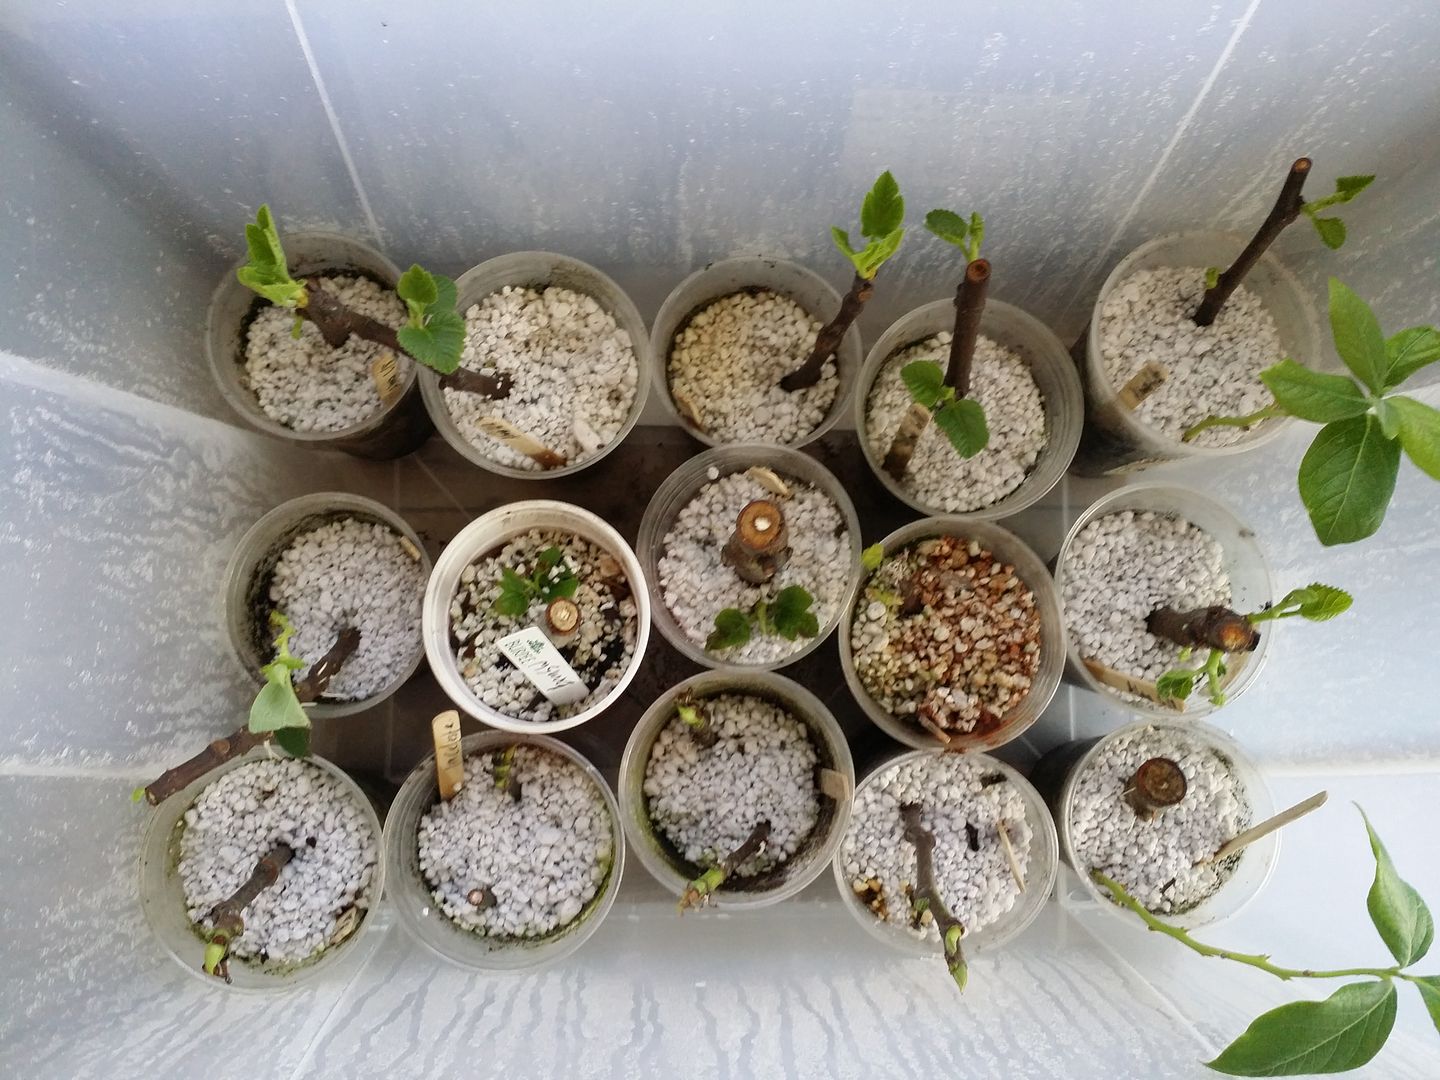
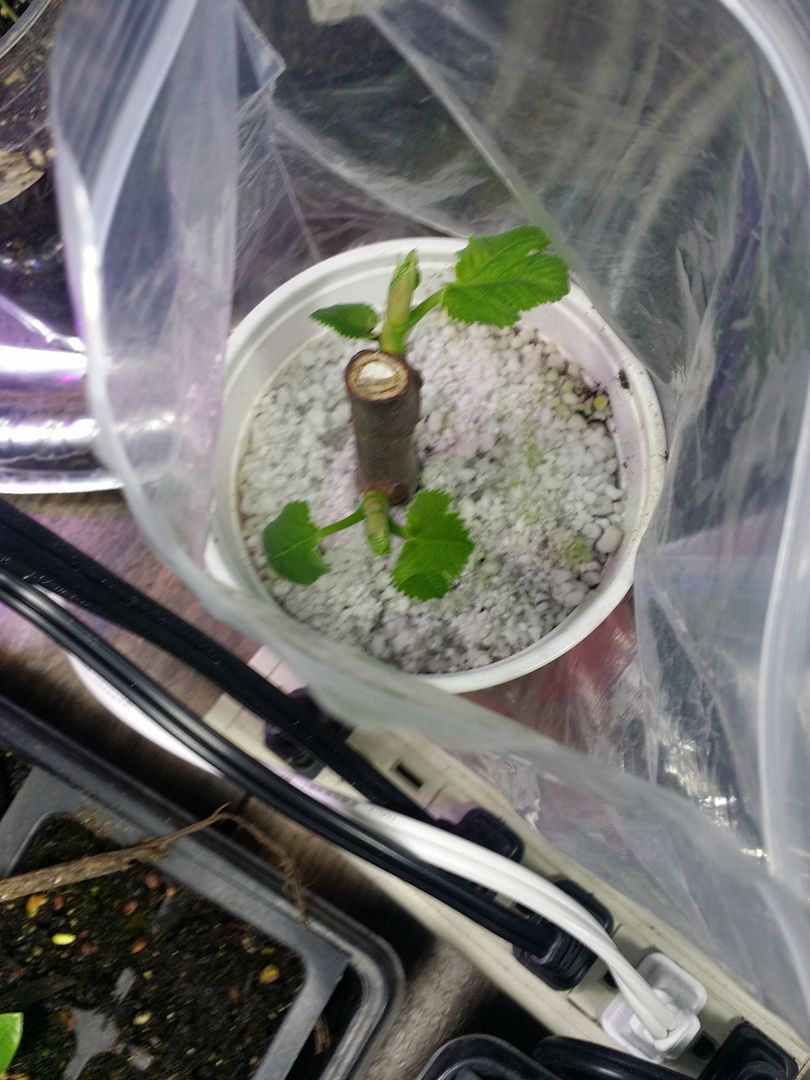
However instead of just throwing them away, I put the "dead" cuttings flat into a square planter and bury them completely.


Sometimes you may get a lucky and a cutting survives.


Friday, February 19, 2016

Will it ripen in the rooting stage?

Most of the time I would simply remove figlets from my cuttings, but this time I'm just gonna let it grow and see what happens.

The general idea is that you want the cutting to focus all of it's energy into rooting vs into fruiting. But since I have a ton of Desert Kings already I'll just let this one play out.


Update: 3/9/16
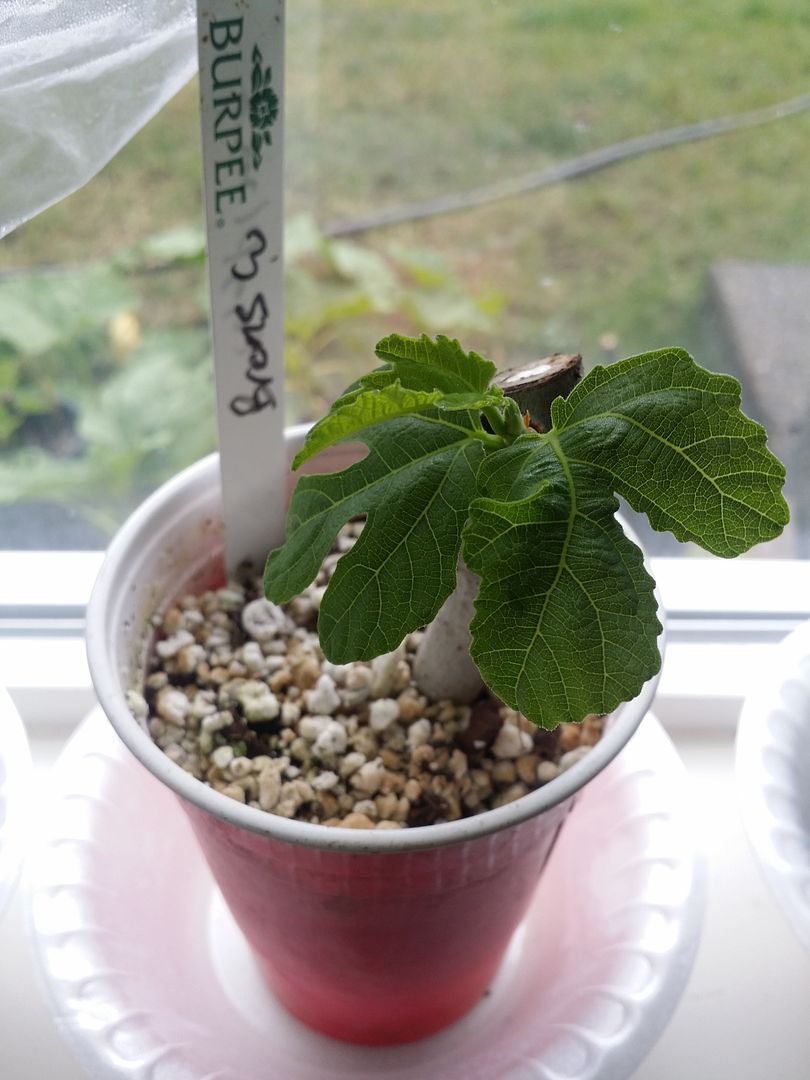
As expected the fruit wilted, but perhaps I waited too long to up pot them. I kinda forgot about it and you can see some low humidity acclimation damage.


Monday, August 24, 2015

Fig Cuttings update

Fig Cuttings update:

Now that the weather has cooled off a bit, the temperatures are finally within safe ranges of keeping my newly leafed out cuttings outdoors. Night time ranges in the 50s and the Day time is about mid to high 70s.  There's dew in the mornings so I know that the humidity is at a good range for them.

They spend their time on my Deck where there is about 2 hrs of actually sun exposure. The rest of the time they get a bit of morning sun and deep shade.


I spent most of the weekend repotting my early - mid July cuttings to 1 gallon pots. All of these are under 2 months old.


Among the mess of cups and cuttings I have LSU Gold, MVSB, Gilette, Desert King, Brown Turkey, Sals EL, Vashon Violet, Dalmatie, Brunswick, Black Madeira, and some unknown Seattle trees.


Almost none of these are tip cuttings and all take in July. I do not think it makes much difference if the cuttings are taken as dormant or active growing plants. The attributes to a Good cutting that will have a higher chance of success are as follows:

1. the wood is lignified as brown wood
2. No green tip cuttings. Tip cuttings from dormant plants will grow well because they are brown wood, not summer cuttings though
3. The girth of the branch should be thicker than a pencil
4. More than 3 nodes


Thursday, June 25, 2015

How I root fig cuttings with 80% success

This is a diagram of how I root my fig cuttings. So far this year I've had 80% success or more with this method.


Step by step:

 Week 1
1. Once you receive your cuttings wash and scrub them lightly with a bit of anti bacterial soap to kill off any mold spores (I'm not a fan of thin tip cuttings. I find that they do not have enough "meat" to sustain new root growth and will dry faster. Try to get get finger size cuttings from brown wood)
2. If they are too long cut them down to about 6 inches right above a node. Cutting it above the node helps to reduce amount of bare twig that sticks out when the new branches develop. It's more of an aesthetic thing.
3. Root in clear cups so you can see the roots form
4. Use the diagram above for soil requirements
5. Water it with dechlorinated water (I have watered straight from the tap as well and have not seen much difference) Let it drain completely before placing them into the humidity bin, too much water will cause root rot. If the cup is still dripping when you pick it up it's not completely drained. You can use a spray bottle as well on the soil medium. Spray until it is moist not wet. Try to avoid over drenching your cups.
6. Once drained, place the cuttings in a bin or plastic bag to keep in the humidity. Do not water again until they form leaves and the soil dries out

Week 2
7. Once the root and leaves form open the bin slightly to allow for air circulation and hardening off. Do this for about 2 weeks. ( I stick a little PC fan in the bin to help keep the airflow)

Week 4
8. After a couple of weeks the leaves will appear stronger and more vigorous.  The slightly open bin should have acclimated it to a less humid environment.  You may see some dried or moldy leaves. These will fall off and new ones will take it's place so do not fret.
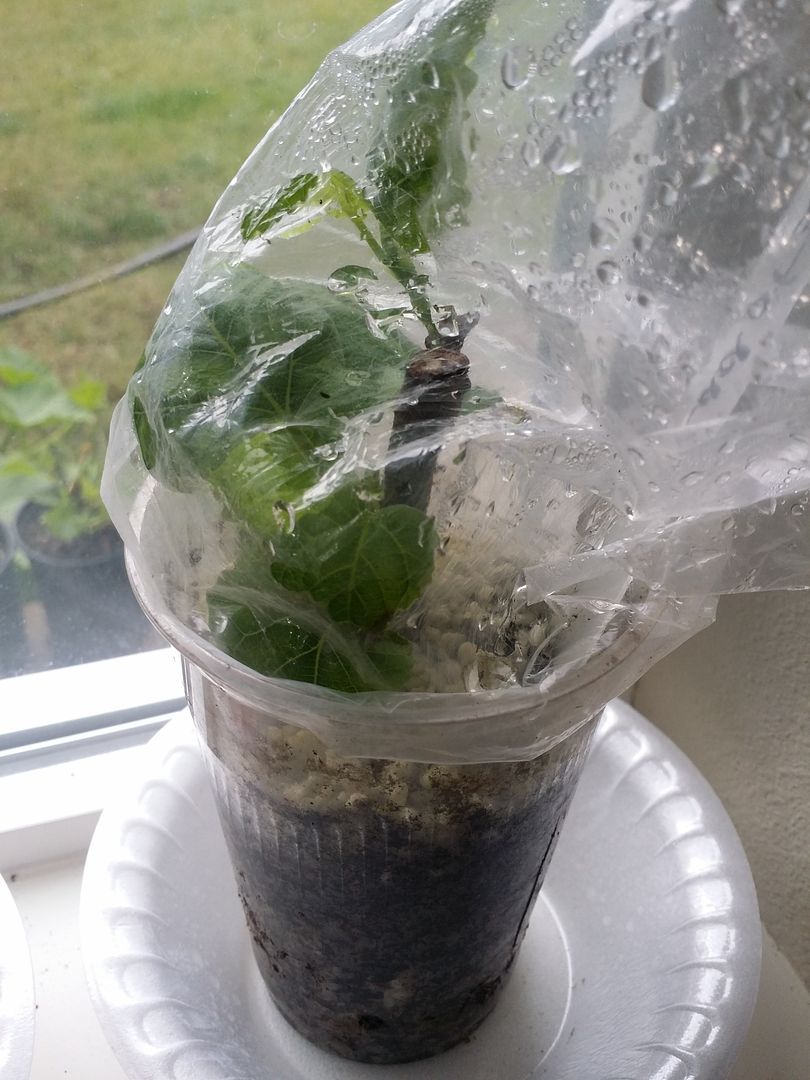
9. Take them out and place a bag loosely over it and place by a light source. It could be a window or greenhouse. Do not place the new tender plant in full sun... yet
10. Remove the bag once the leaves have hardened, this should take about 1 week
12. Keep the plants in their cup and water only when the cup dries up. You can usually tell by how light the cup feels or use a moisture meter to see if they need to be watered. The leaves are also a good indicator.

Week 5
12. Let the new plant develop some strong roots for another couple of weeks before up potting them to a 1 gallon pot.
13. Once they are in the 1 gallon I take them outside to a shaded area that only gets morning sun for a couple of hours. There they will sit for 1 -2 weeks to acclimate to the elements. If you put them in direct sunlight right away the leaves will burn and they may not recover.


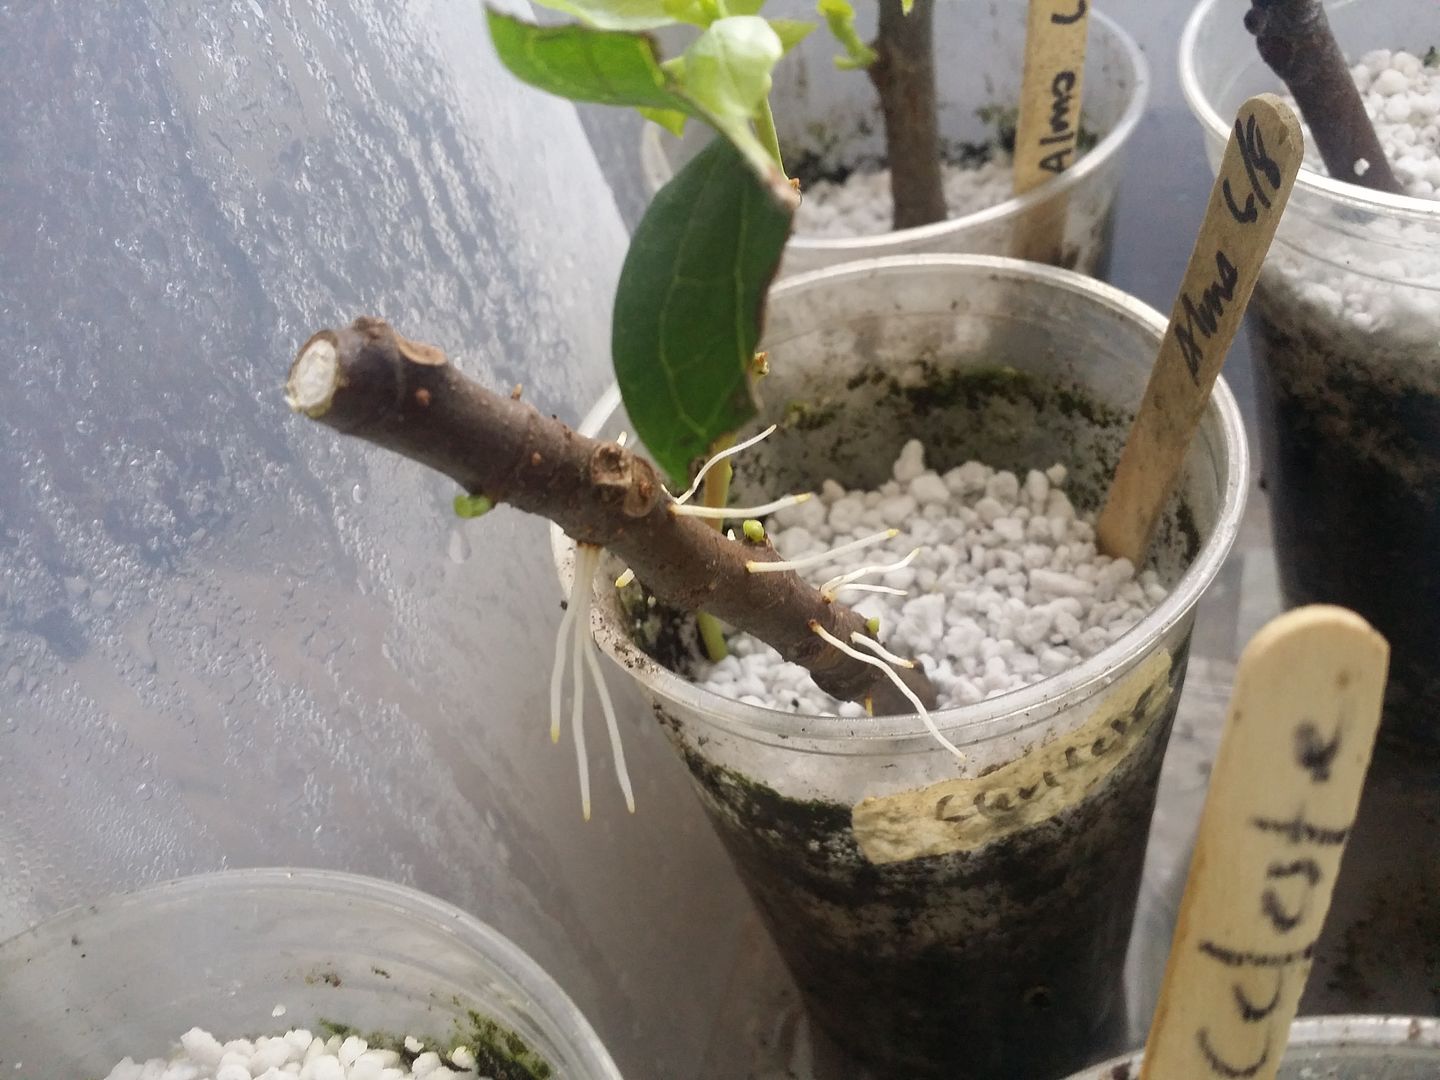
Check out those crazy roots

Because not all cuttings root at the same time. One you can see leaves and the root structure take out the individual cup and loosely place a bag over the leaves for a few days until they harden off.

Feel free to let me know how you propagate your figs.


If you love figs as much as I do don't forget to join my fig addiction group
Fig Addiction

I've since created the LASAGNA METHOD which works even better.


Wednesday, May 20, 2015

Rooting Fig cuttings

Rooting figs.

This is the cup method with perlite and loose soil.


So this is one of the easiest things to do. It's also the most frustrating. What has worked for me this year has been to be patient and to understand how to eliminate the enemies. Enemies to figs? Yes.

Figs root super easy it's how we keep them alive is the tricky part. Fungus Gnat flies and mold can destroy your whole crop of rooting figs. It sure did for me. The best thing to do is eliminate the conditions that the flies can dwell in.

This year I've had about 90% success with my fig cuttings. I take a bit of soil 50% mixed with perlite 50% add it to my rooting cup about 3 inches deep. Then I top off the rest of the cup with just perlite. I water the cup all the way through and then bag it up for a month. Air out as needed. The top layer of perlite will give the roots plenty of oxygen. It also gives no place that the fungus gnat to lay their eggs.  The new roots tend to grow right between the soil layer and the perlite layer.

It's tempting to think that leaves equal roots but its a bad thing to do. Just let them be. Time matters more than anything. Once you can establish that there is a good root system. It is then time to acclimate the new leaves to a dryer environment. You do this by opening the bag more and more each day until you can take the bag off completely. The process should take atleast 2 weeks to get fully acclimated.

There's a million ways to do this so see if you can come up with your own. Good luck!