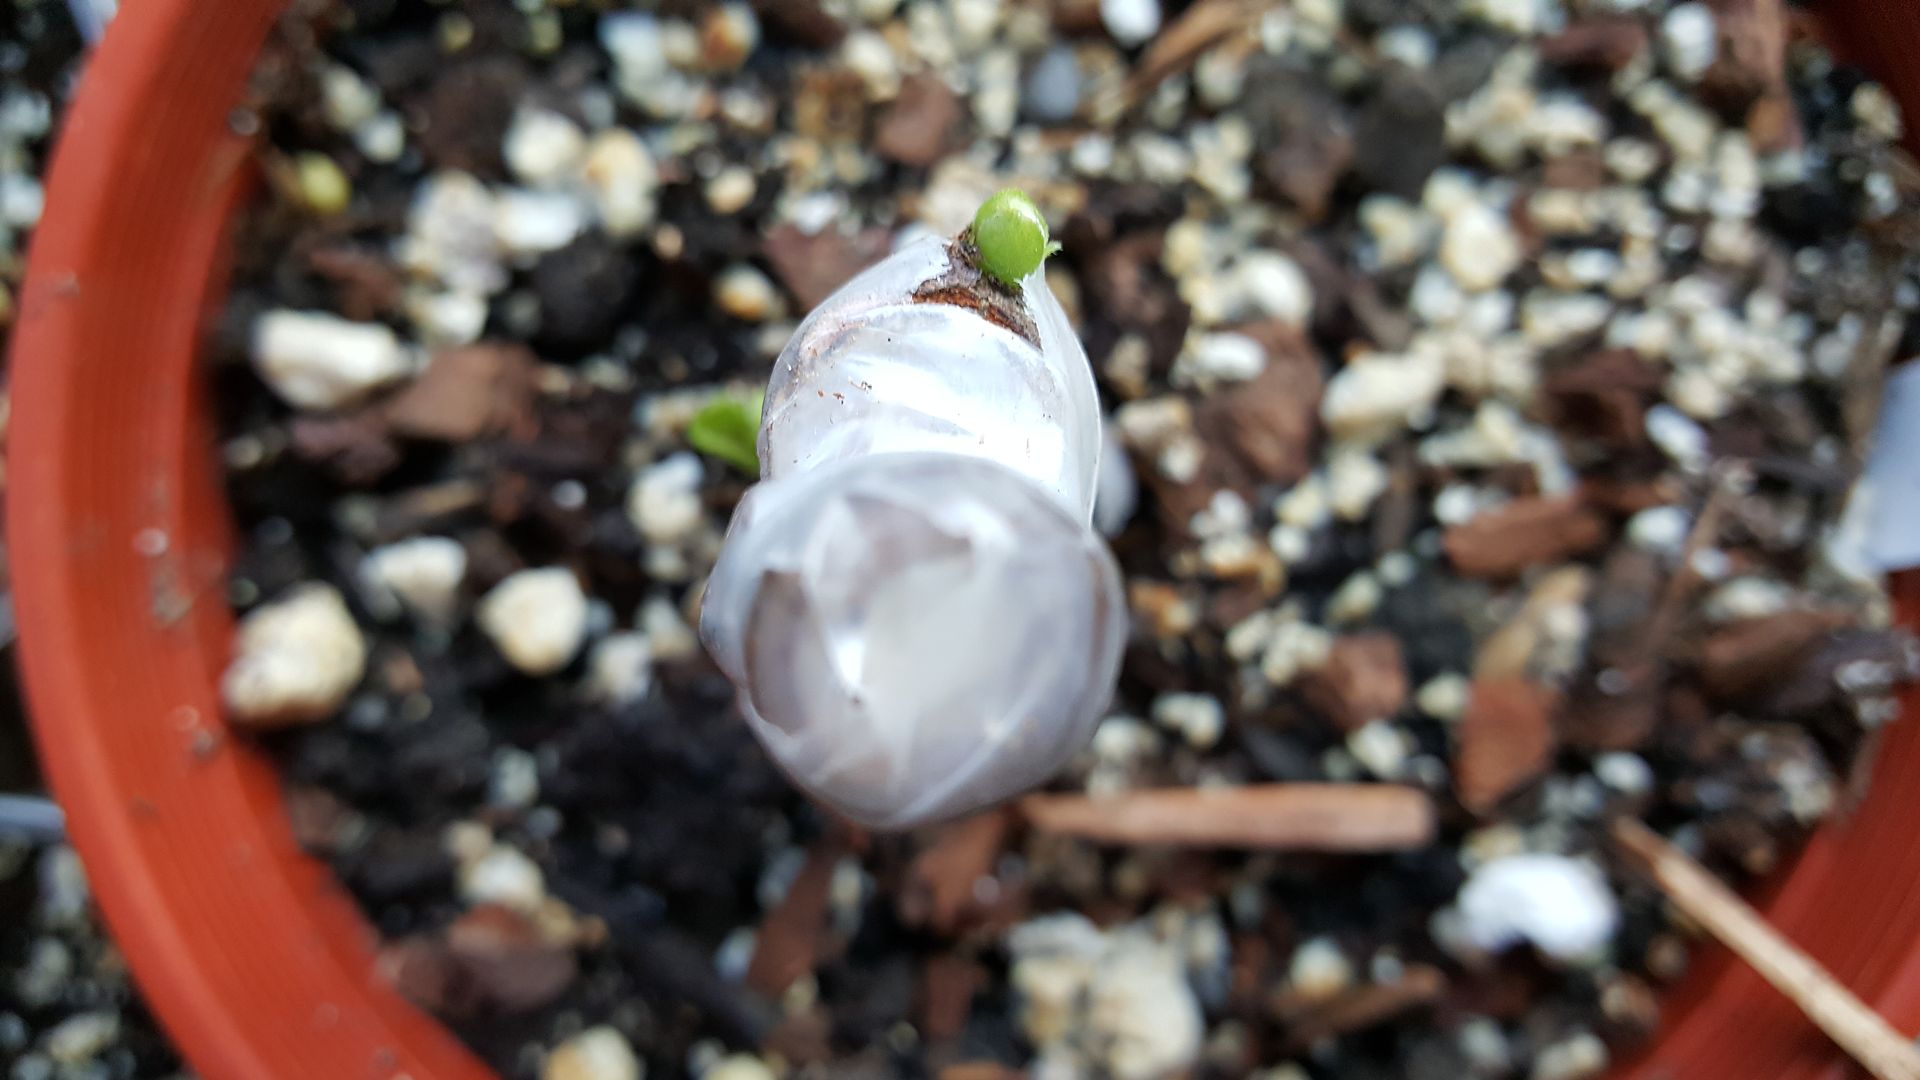
The Japanese White Pine has got to be one of the prettiest pine trees. It's a 5 needle pine that has a natural tendency to grow plumes of vertically pointed needles. It does this naturally and takes quite of training with other pines to achieve this type of growth.
I find these trees beautiful. However the problem with JWPs is that they do not grow easily from seed and do not air layer very well.
So most stock is from grafted material. However most grafts tend to be high on the trunk if it's nursery stock. Which can cause an unsightly nebari.
Below I've started my own grafts for a Japanese White Pine on some young
1st, I bare rooted the root stock to make them easier to handle.
2. I then removed the lower branches.
3. I striped the JWP to the latest year's growth at the tip.
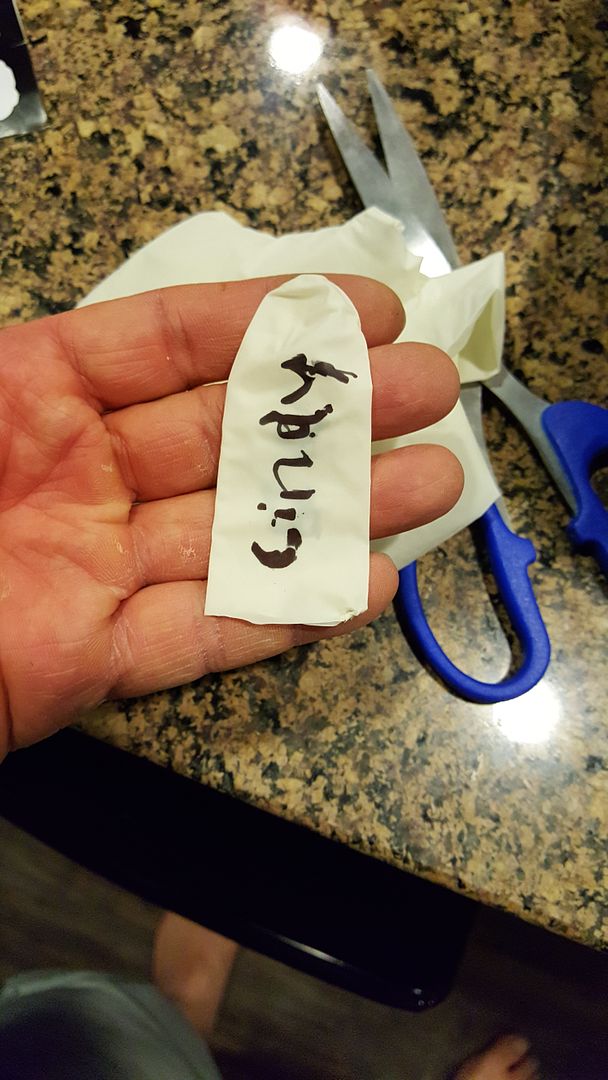
4. I rolled a doobie. Just kidding. The scion JWP has been wrapped in parafilm prior to grafting.
5. I made a cut on the root stock as low as possible to the roots.
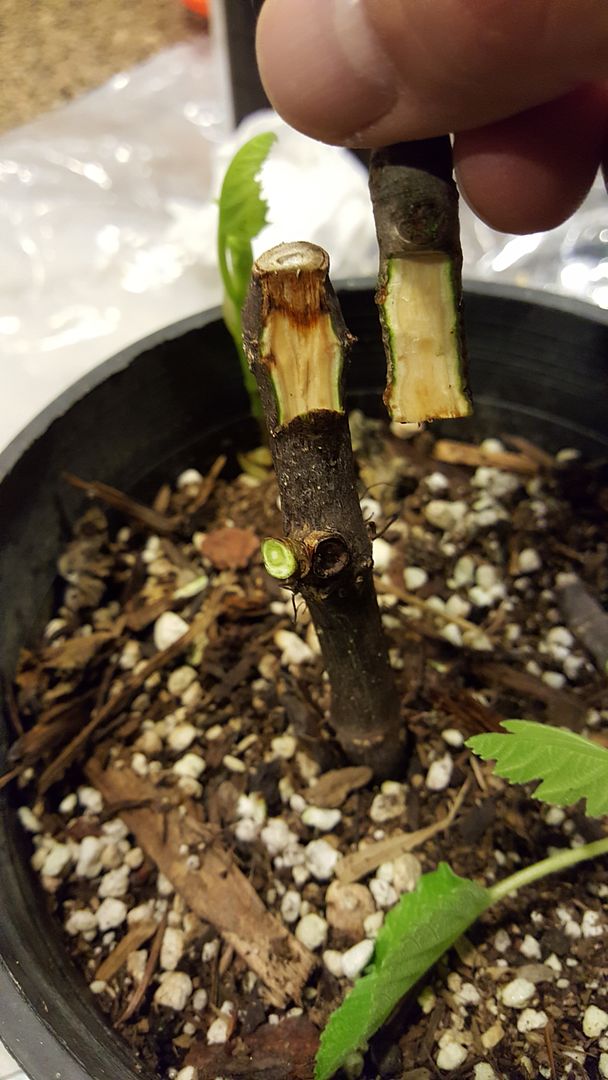
6. I wedged in the scion JWP to the cut on the root stock.
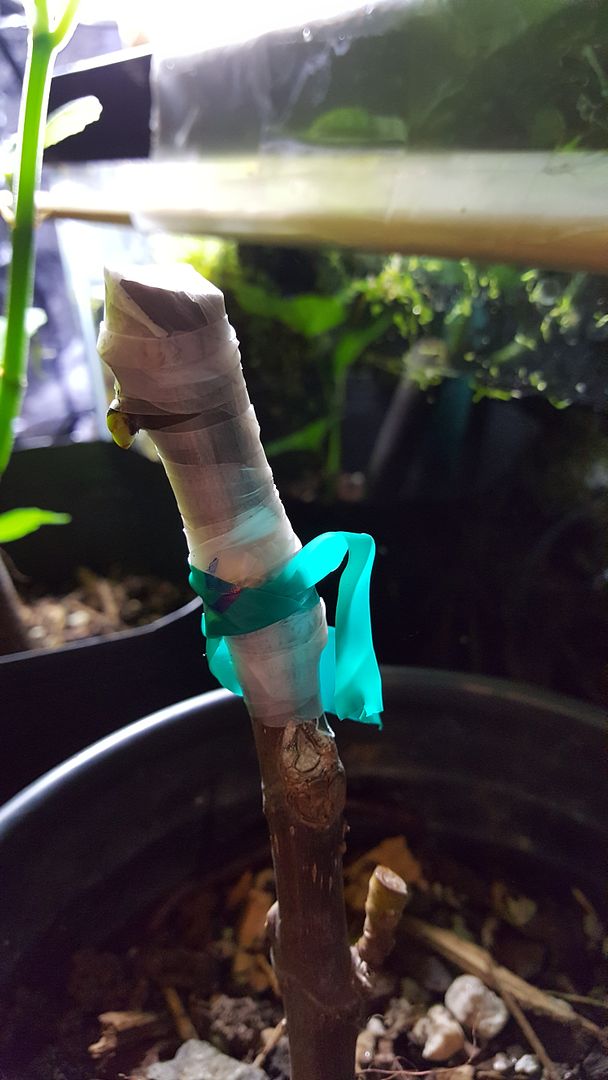
7. Parafilm was used to wrap and adjoin the two pieces.
I managed to do 2 grafts.
Lastly, I put the plants back into their pots. My only concern is that I grafted a pine to a fir. I am not 100% sure if they are compatible. But we shall see.
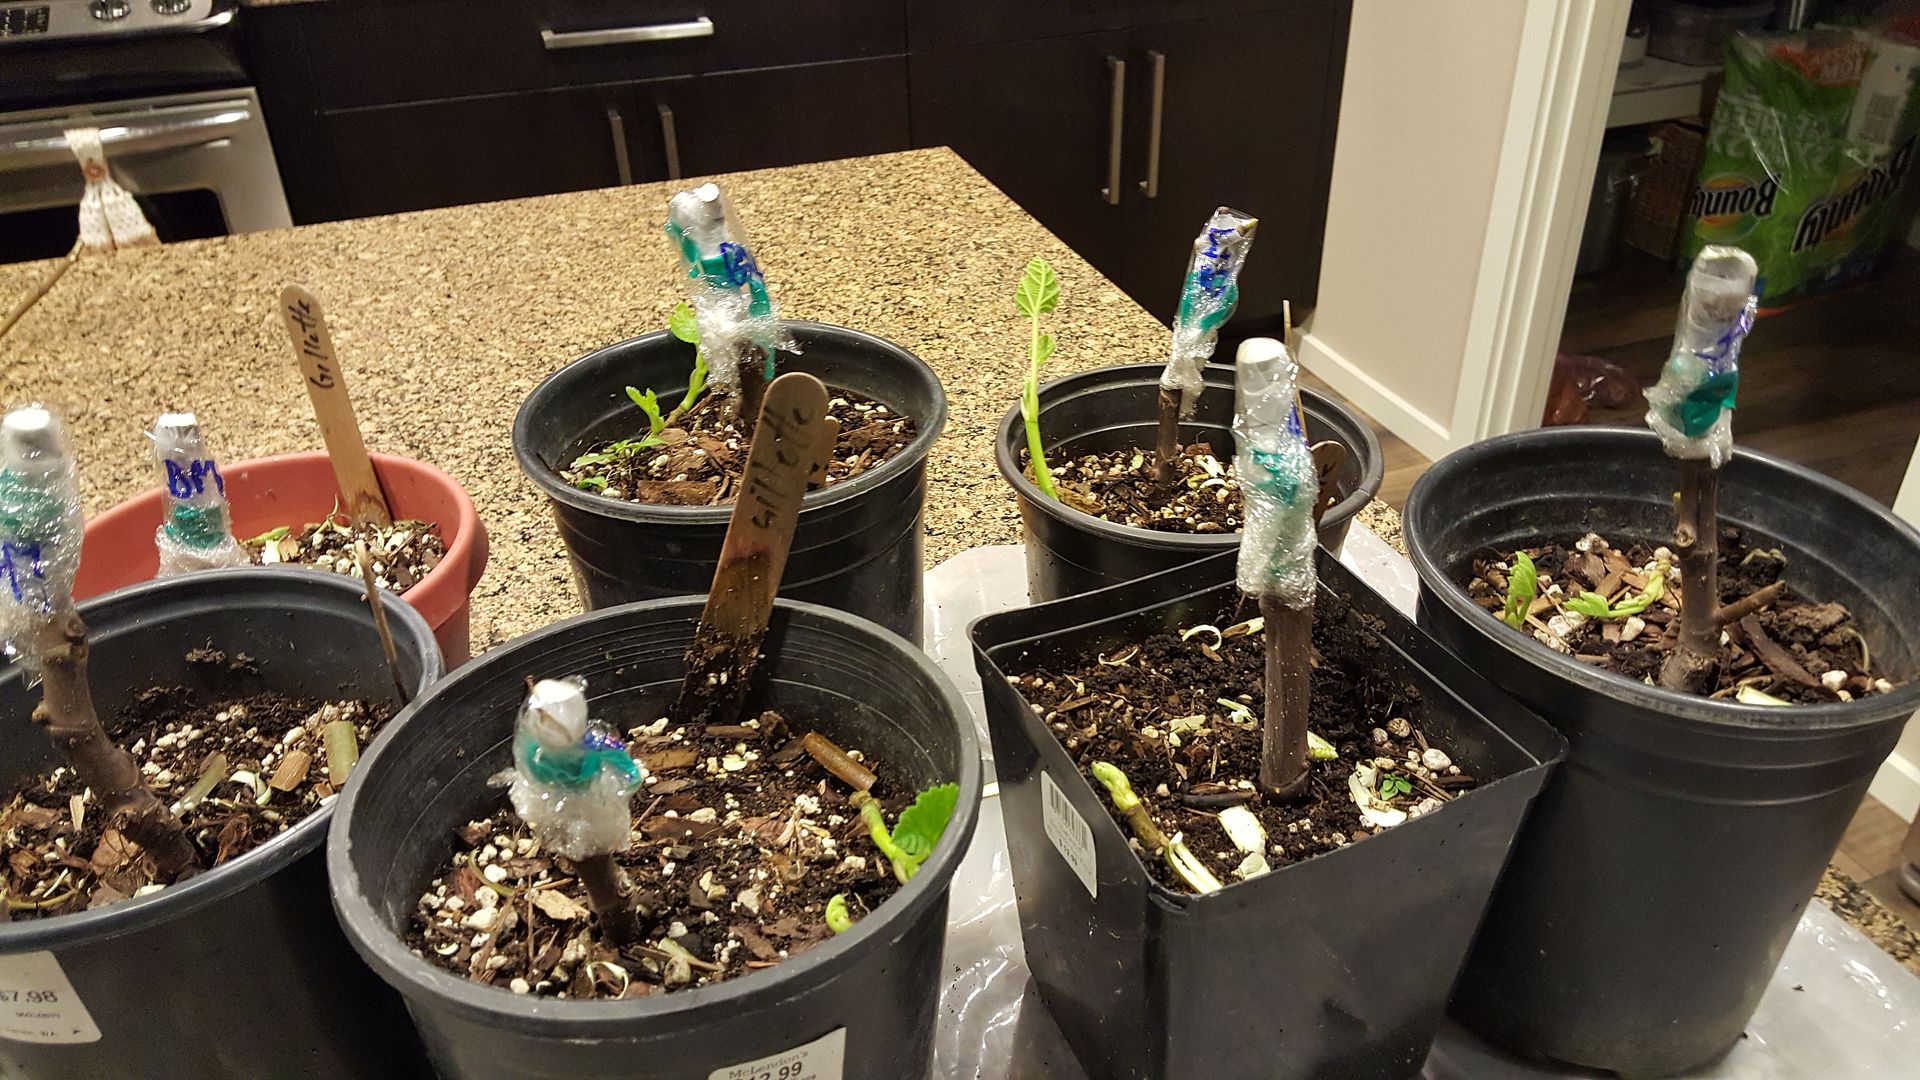
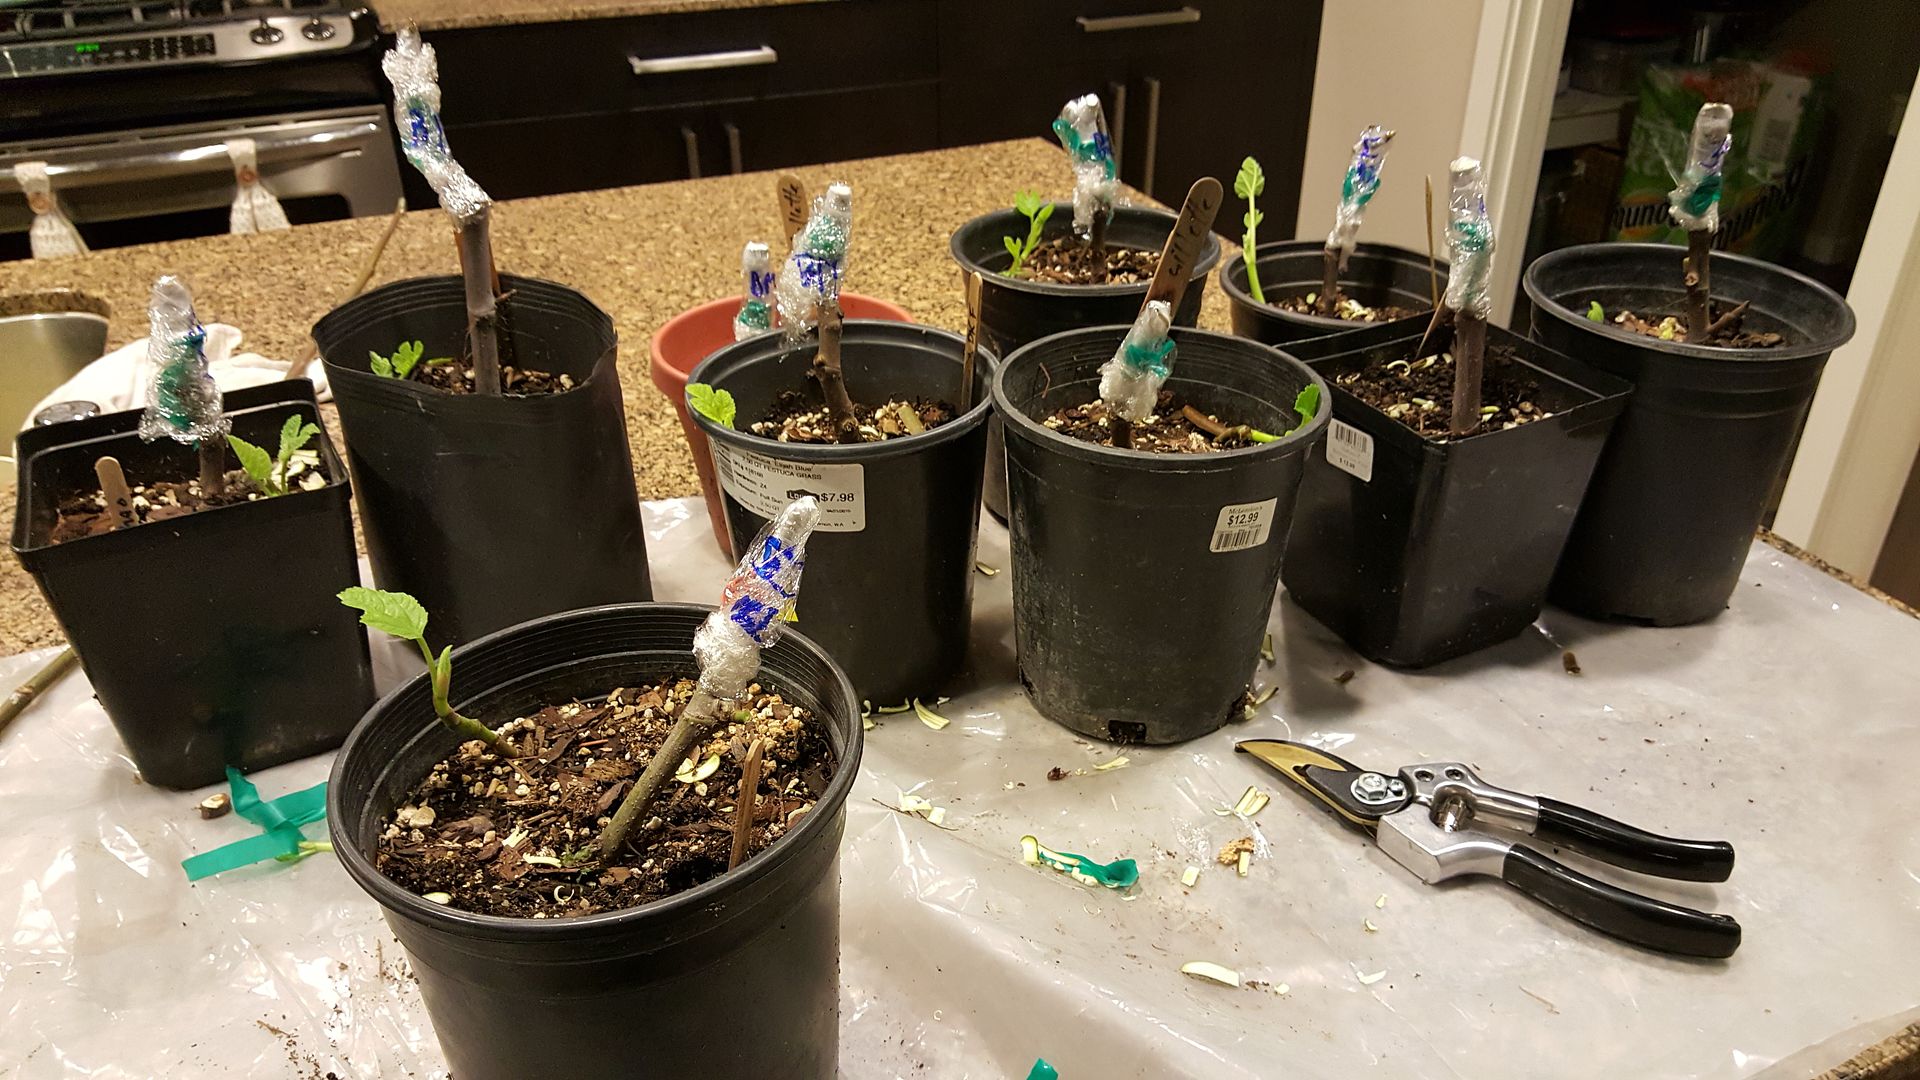
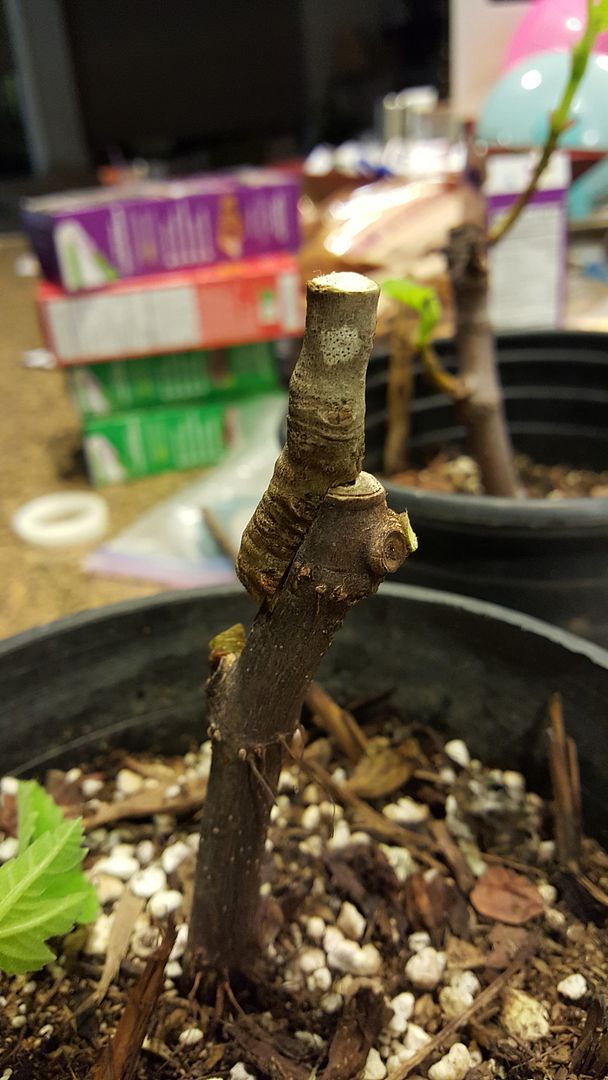
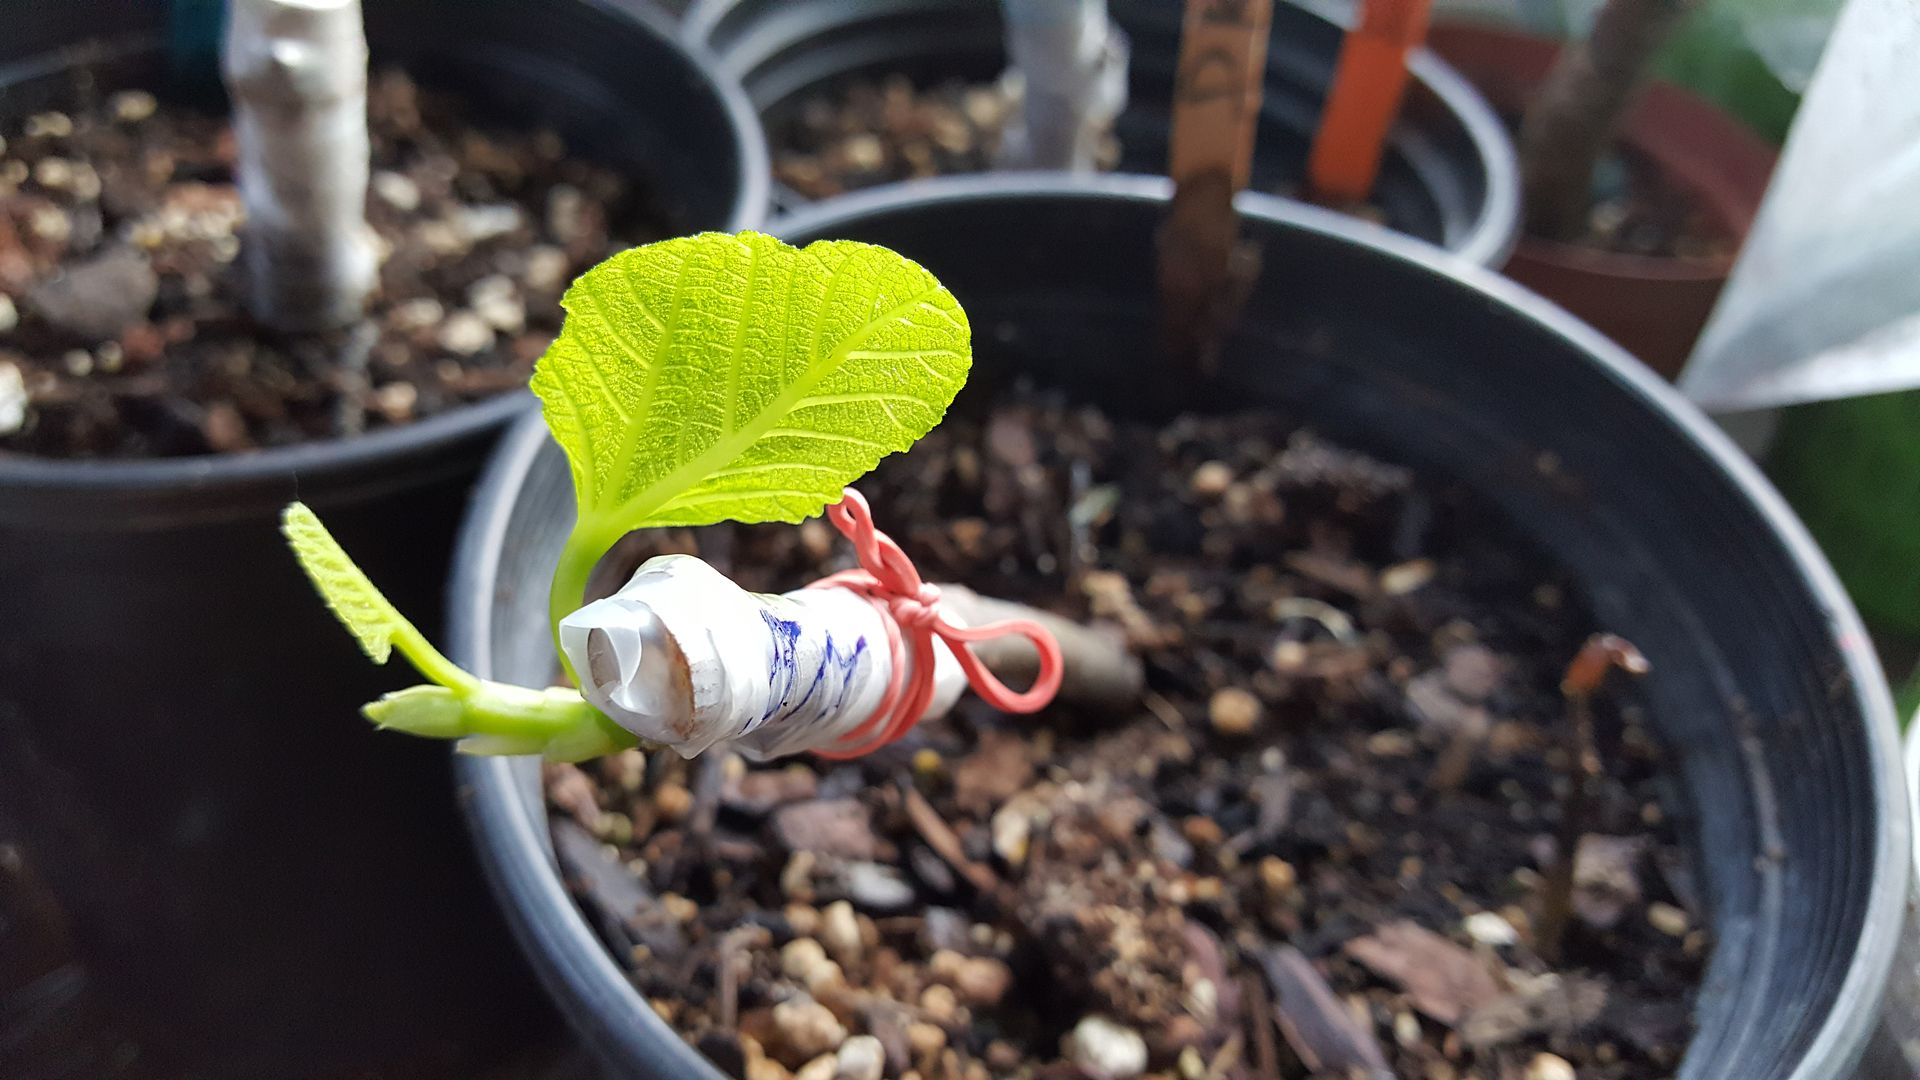
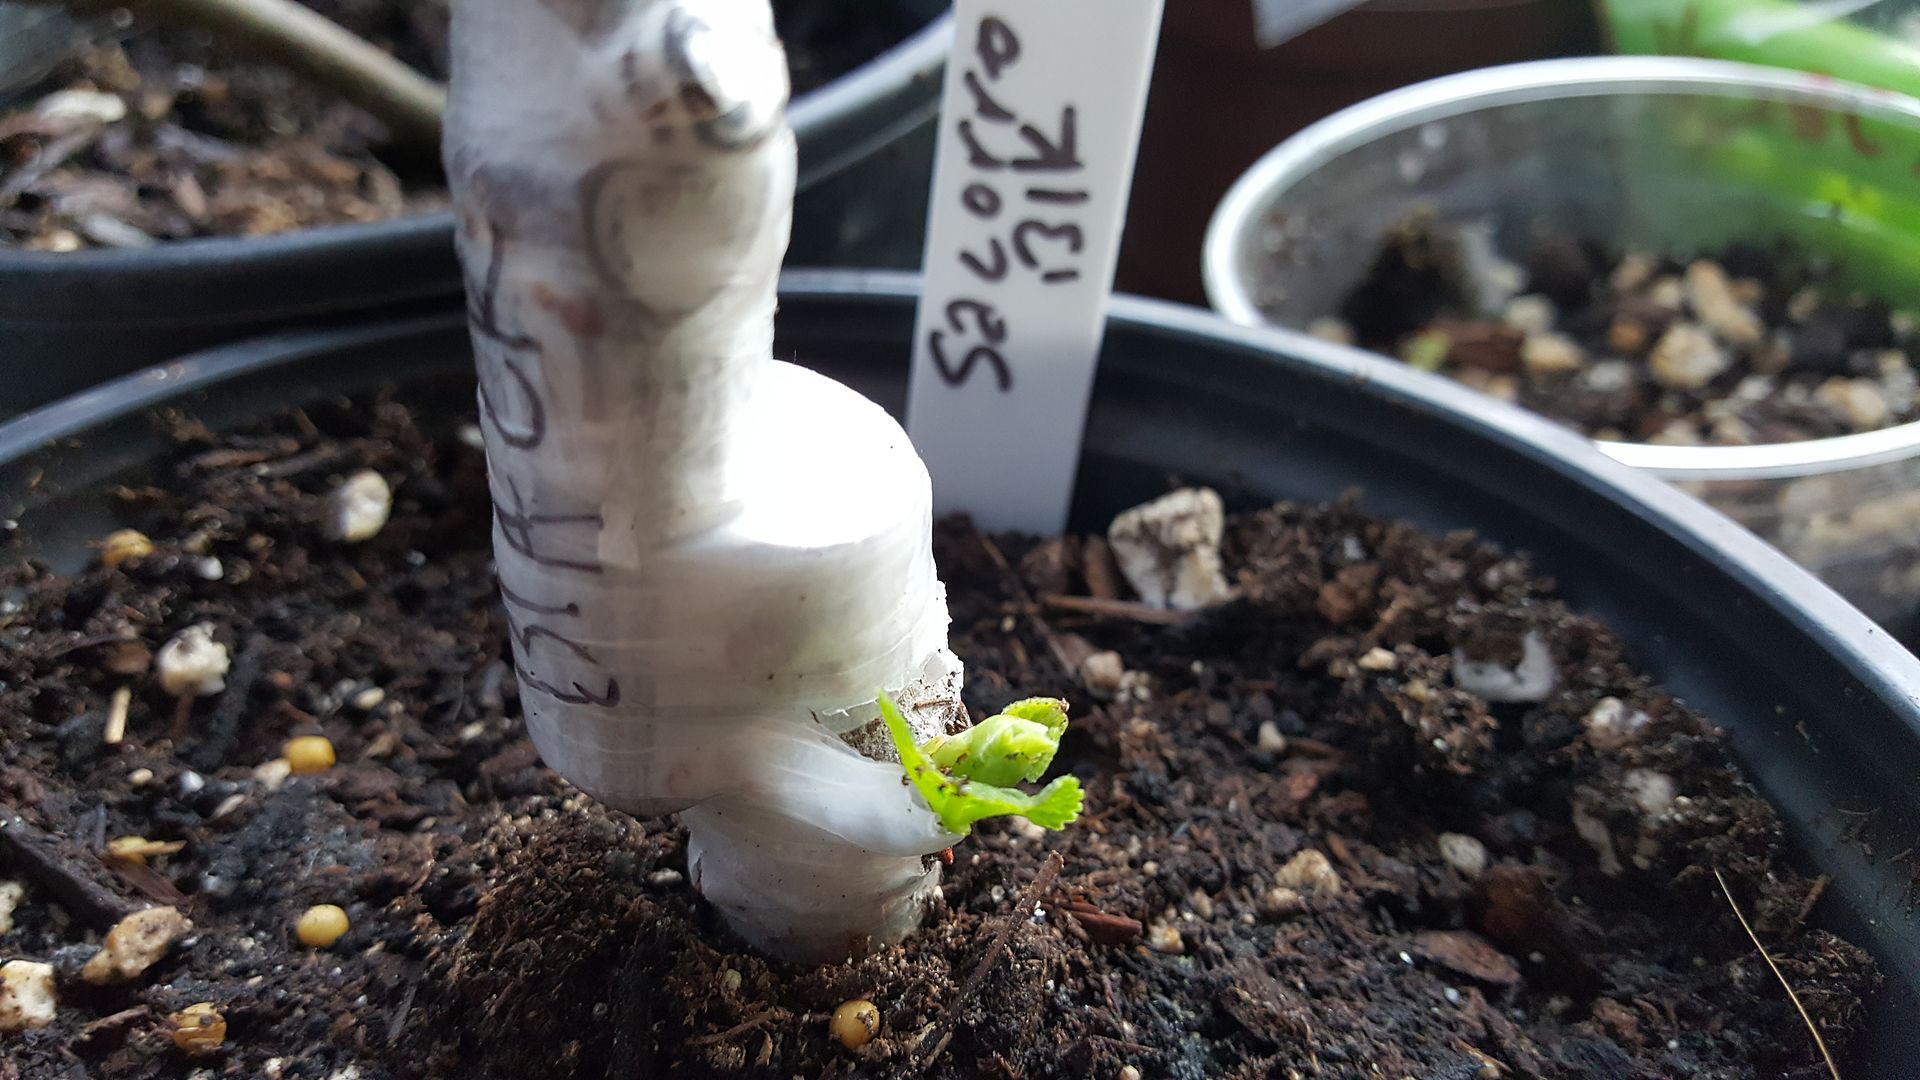
Here's a few updated shots on the grafts that were made about a month ago on 11/18/18. Most of the cleft grafts have taken, still waiting on the chip bud grafts to take.
I've been so inspired after watching this video by Jamie on youtube about grafting that I think I will create my own Franken Fig tree next yr. He's made some amazing videos on fig growing, grafting and propagating. Definitely subscribe to him if you can.
I'll start the tree off with all of the northwest favorites.
1. Desert King
2. Violet De Bordeaux
3. Olympian
4. Peter's Honey
5. Ronde De Bordeaux
6. MVSB
Then maybe add
7. Kathleens black
8. Fiorone Di Ruvo
9. Green Goliath
10. Natalina
11. Vincenzo
and more if I can fit it.
Root stock is still up for debate most likely a Desert King. They are built for the Seattle area.
After a few conversations with folks I've been convinced to do more grafting vs rooting new figs. I've got dozens of unknown 1 gallon figs laying around, so it made perfect sense.
I managed to get 2 Grantham's Royal cuttings off of my tree. Sold one off and took the other to graft.
It was enough for 5 grafts.
I did a simple cleft graft and wrapped it up in parafilm.
These are now sitting on my deck along with my rooted summer cuttings from Garden Crochet. The days are cloudy, wet and around 50-60s so there's no scare of overly hot or dry days that can damage the new plants.
I'm expanding my list of varieties on this cutting to cutting grafting technique. What I'll use are the cuttings that I purchased from Harvey to graft onto hardy Gillette rootstock.
I found this great video on Japanese grafting techniques and rooting of blue berries. It's a great video even if you cannot understand it.
One new thing though:
I recently learned about the bag technique that many plumeria growers use to root their cuttings so I had to try it out for myself on fig cuttings. It seems to have a great deal of success and take up very little space. I'm always up for simple and good ways to do things.
1. Cut to size:
Look for comparable size cuttings on the Gillette and what ever you're grafting to it. For the scion pieces cut off only a single node for grafting.
2. Cut your graft:
You'll need a sharp knife for this.
3. Wrap it up!
Wrap it with parafilm and optionally tighten it with a rubber band. Make sure to complete wrap the entire scion to keep it from drying out. It also very important to label all your cuttings. I bought a couple of sharpies that are suppose to be super resistant to fading. Hopefully they work as advertised.
4. It's not really necessary to use rooting hormone but in this case I did anyways. Be very careful and knock off any excess powder.
5. Prepare your potting mix
I usually just kind eyeball my mixes, so I wouldn't be able to tell you the % of how each material I used. That's probably why I'm terrible baker.
Potting Mix:
-coco coir - I hate peat moss. Fungus gnats love it because of the mold that can
potentially grow from it. So I try to avoid it as much as possible.
-HP promix
-perlite and
-some medium sized bark.
The idea is to have something fast draining and loose. Try to avoid soil that clumps and retains alot of water. Excess water will be the reason why your cutting will rot. The HP promix has mycorrhizae which is great for root development. It's expensive but well worth it.
This mixture is moist to the touch but it doesn't stick to your fingers. If it does, it would indicate that it might be too wet. Just make sure it's not bone dry. DO NOT OVER SATURATE the mix with water.
7. Bag it up
I still had a ton of pet store aquarium bags from my fish hobby days, so I used those. The ideal thing to use to tie up the bags would be rubber bands but since I did not have any handy, I used my garden tape which works great as well.
The cool thing about these longer bags is that after I tie off the soil line, I also tie off the top of the bag to create an additional humidity chamber for the exposed graft. So now I'm not too coincerned about throwing these into a humidity bin. I can just leave them anywhere warm in the house.
I'm sure my wife would love to find one of these bags under her pillow. =)
Here's a video on how to bag them up. It's about plumerias but you get the jist.
8. Keep it warm
The ideal temperature for rooting fig cuttings would be around 75F degrees or about 23C. You can buy am expensive heat mat or what I did was simply place them on top of my LED florescent light from Costco, where the temperature stays at a constant 75F degrees.
Very important notes:
1. From here there is no need to water the cutting, spray it or anything for the next few weeks. Just wait for roots and leaves.
2. HUMIDITY is the X factor between success and failure when it comes to rooting figs. It's such a fine line between having the correct amount of water and too much. I've learned over the last couple of years that the #1 mistake that many new fig growers make when it comes to their cuttings is over watering!!!!!!
So do not over WATER! Once more, DO NOT OVER WATER YOUR CUTTINGS!
If yousee that the bag is getting overly humid then poke some holes or cut off the bottom corners to let some moisture evaporate.
**Overall I think when it comes to rooting figs, there's more than one way to skin a cat. They will root in virtually every way. I think the knowledge needed to be successful is knowing when and how much to water your cuttings. Figs can sit in dry media and it's not a problem for them. They are adapted to such environments in the wild. However they do not like wet feet.
2/26/16
My Black Madeira cuttings from 2 different sources arrived today and after reading that grafting maybe a better solution than rooting them I set aside 3 cuttings to graft and the rest to root via the Lasagna method.
From personal experience Black Madeira's take forever to root.
For rootstock I used last year's Gillette and Desert King Cuttings that were started in July of 2015. In all I had 11 rootstock to work with. In total I grafted 12 BMs. I grafted a BM onto an MVSB the day before as practice before making the video for youtube.
I used single nodes and a simple cleft graft to graft all 12. All the grafts were wrapped in parafilm, then tightened with garden ribbon, and kept humid with saran wrap.